This article was initially published on my Medium Page.
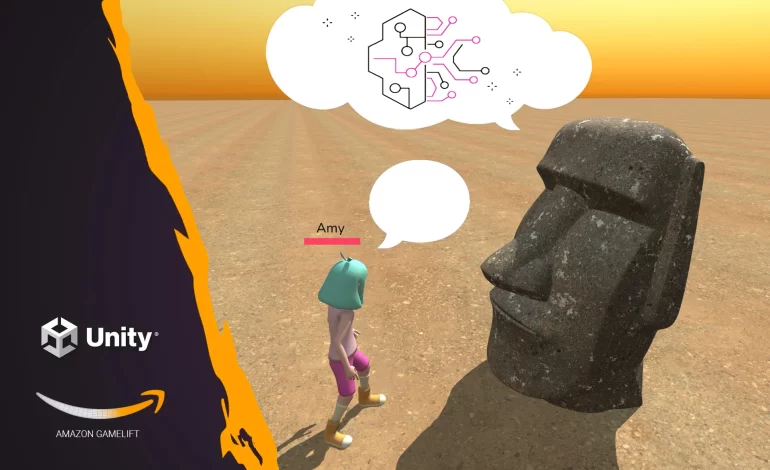
Can an NPC be smart? What about having a real conversation with an NPC? You may have watched those incredible videos of gamers talking with AI NPCs. Can it be done with Unity3D and Amazon services? Let’s see!
Check my video to learn how to do it:
Preamble
Lately, I have published a series of articles and videos about building a real-time multiplayer game with Unity3D and Amazon GameLift.
I also entered the AI field and produced content about integrating Unity3D and AI services: ChatGPT, Dall-E, and Amazon Bedrock.
On my video about Amazon Bedrock, a clever follower left this comment:

What an outstanding idea! Technically, it would be a perfect mix between my work about Amazon GameLift and the one about Bedrock. Thanks for the idea, bro; let’s do it!
About NPCs
A non-player character (NPC), as its name indicates, is a character that is not controlled by a player but can eventually interact with the real players of a game. Therefore, every action or decision taken by the NPC is server-managed. The flow is the following:
- A player interacts with an NPC; the player notifies the game server.
- The game server processes the information and eventually connects to other services (Database, AI, etc. )
- The game server sends an answer to all the players, and Unity clients are updated.
General Architecture
The architecture of this project contains 3 main parts:

- A simple architecture of a real-time multiplayer game implicating the services Cognito, Lambda, and GameLift.
- A Lambda function that calls the generative AI service Amazon Bedrock.
- A connection between the GameLift’s game server and the Lambda function.
For the first two parts, please refer to the following articles and videos: Building a Real-Time Multiplayer Game With Unity3D and Amazon GameLift and Generative AI With Amazon Bedrock and Unity3D. This article will focus on how to invoke a Lambda function from a GameLift’s game server.
Accessing AWS Resources From GameLift
We want the game server to access another AWS resource here, Lambda. The classical way to do it would be to create a role with associated policies to allow GameLift to invoke a specific Lambda function. But this is an uncommon case and requires an extra step. The GameLift documentation says you can achieve doing the following:
- Set up an IAM service role for Amazon GameLift.
- Associate the service role with an Amazon GameLift fleet.
- Add code to your game server to assume the service role.
So, why this extra step? Remember that GameLift game servers are actually composed of one or various EC2 instances (fleet); therefore, we must associate a role to the fleet and also to the EC2 instance where the game session is running. After that, we can invoke our Lambda function from the game server.

It’s not so straightforward, so fasten your seatbelt, and let’s start!
The IAM role
The new role we are creating will allow GameLift to access other resources. To do so, we select GameLift as a trusted entity when creating the role.

By default, an AWS-managed policy called GameLiftGameServerGroupPolicy is attached to the role. We create a new policy to allow access to the Lambda function and attach it to the role.

Okay, so we have the role ready; we can attach it to a new GameLift fleet. But don’t create the fleet yet! We need to work on the Realtime script and dependencies first.
The Realtime Script
This is the spicy part. The role we have created is assumed by the GameLift fleet, but as mentioned before, we also need to assume the role from the Realtime script. Realtime servers use Node.js and JavaScript, so we will use the AWS SDK for JavaScript.
For some reason, I could not use the AWS SDK for Javascript version 3; it made my game server crash. I used the AWS SDK for Javascript version 2 instead, and everything worked like a charm. If you could achieve it with version 3, please reach out to me!
First, we need the game server to assume the role we have created. In the init function of the Realtime Script, we call the STS service and assume the role:
Notes:
- We call the function
assumeRoleas specified in the STS documentation
As indicated in the STS documentation, the response has the following structure containing credentials:
Thanks to the credentials, we can now call our lambda function:
Notes:
- We call the Lambda constructor thanks to the credentials returned by STS, as specified in the documentation.
- We invoke the Lambda function (in my case
npcFunction), as specified in the documentation.
To get more details about how the Realtime script works, please refer to this previous article:
The Dependencies
In the previous section, we worked with the AWS SDK for JavaScript in the Realtime script. Small but very important detail: the AWS SDK for JavaScript is not installed on the game server! Good news: we can upload the dependencies along with the Realtime script. Therefore, we will follow those steps:
Install Node.js in your local environment.
First, go to the Node.js from the official website. Select the operating system running on your local machine and install Node. Once installed, open a new terminal (or command prompt) and type “node”. You should be able to enter the Node console:

Install the AWS SDK for Javascript
In a new terminal, go to the folder containing your Realtime script and install the AWS SDK for Javascript version 2 thanks to Node’s package manager, NPM:npm install aws-sdk
Once installed, 3 new items have been created: the package.json and package-lock.json files and the node_modules folder.

Wrap the script and the dependencies
Zip the folder containing the Realtime script and the dependencies (4 files in total), and go to the GameLift console. In the script section, create a new script and select the zip file.

🚨 Houston, we have a problem: our zip file is too big! The reason is the following: AWS SDK for Javascript version 2 is not modular, so we had no choice: we have installed and zipped the whole SDK (12 MB). With the AWS SDK for Javascript version 3, we could have installed only the services we need (STS and Lambda), and this would have resulted in a lightweight zip file (2–3 MB).
Hopefully, another option is available: hosting our zip file in an Amazon S3 bucket. This is our updated architecture:

Create an S3 bucket and a related role
Create a new S3 private bucket and upload the zip file.

In the IAM console, create a new role with GameLift as a trusted entity and attach a policy that allows the private bucket and its content to be read:

Upload the script and the dependencies to GameLift
Come back to the GameLift console! In the script section, create a new script, but this time, select the zip file from S3 and the role we have just created:

GameLift can now access your Realtime script and dependencies during fleet creation through an S3 bucket.
Creating a new Fleet
When creating a new fleet, in the additional details section, indicate the role we have created at the beginning.

You will be asked for the Realtime script. Select the script you have created before, and in the Runtime configuration section, indicate the script’s path. Remember that we have zipped a folder containing the script; therefore, the path will be folder/script, in my case, GameLift/Multiplayer.js.

The Unity Client
The NPC
As I mentioned in other posts, I’m not a modeler or a 3D artist; therefore, I always look for free assets for my projects. The characters I’m using for this project, like the previous ones, are from the website Mixamo. This time, I looked for something different for the NPC and found this great Moai model on free3D.com. OBJ format is compatible with Unity, perfect!

The events
For this project, I added 4 new events related to the NPC:
PLAYER_MEETS_NPC: A player notifies the game server that he wants to interact with the NPC. If the game server allows it, the same event is sent back to all players.PLAYER_TO_NPC: The player can now interact with the NPC; he can send this event along with a message.NPC_TO_PLAYER: The game server sends a message back to the player.PLAYER_LEAVES_NPC: The interaction ends, and all players are notified.
Final Result
This is the final result of one of the characters interacting with Moai; it looks pretty cool!

Closing Thoughts
Weeks ago, I had the opportunity to share my knowledge as a speaker at the AWS UG Peru Conference 2023. One of the attendees asked me: “What is the advantage of using GameLift over another similar service like Photon?”. My answer was the following: using GameLift, YOU build the cloud architecture of your game, and therefore, you can do absolutely what you want. You could, for example, connect your game to an AI service, a database, a notification system, etc.
And that is totally what I meant with this article: accessing AWS Resources from a GameLift game server opens the door to infinite possibilities! The implementation was a little bit complex, but hey, it is totally worth it!
Resources
Here are the resources mentioned in the article:
- The Realtime Script in JavaScript
- The Unity package of the game
- The Lambda policy for GameLift
- The S3 policy for GameLift
I also used free Mixamo characters and a model from free3D.com.
