This article was initially published on my Medium Page.
In my previous article, I built a sound-to-color synesthesia application with Unity3D. In this short article, we will perform the exact opposite: a color-to-sound synesthesia application.
Are you ready to “hear” images? 🖼👂
Building the app with Unity
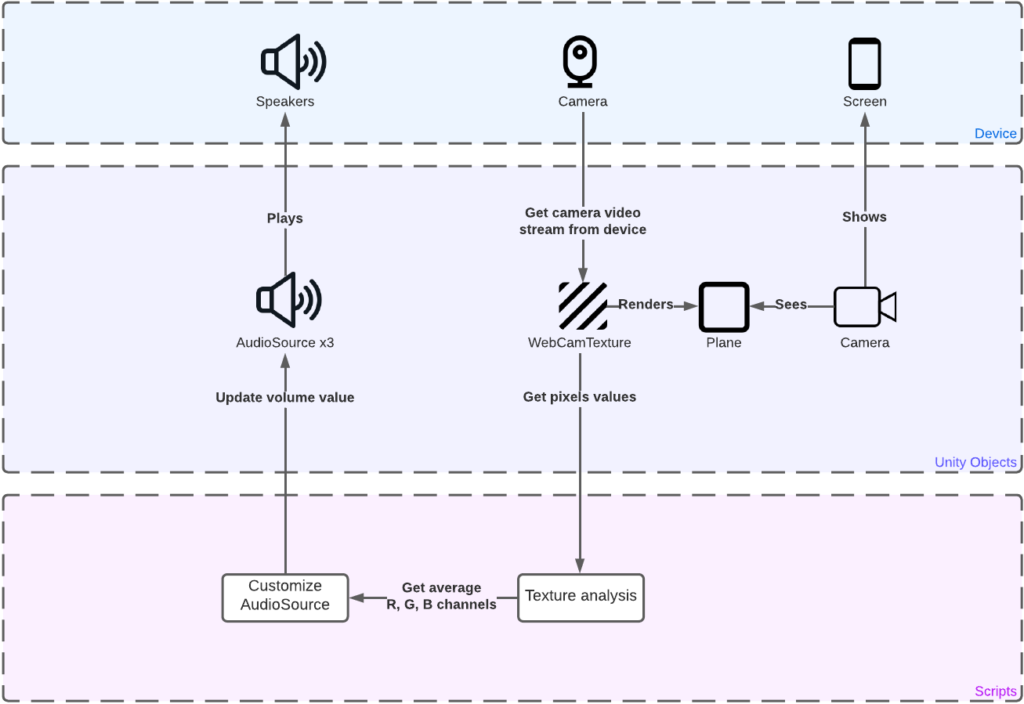
We will re-use the main elements of my previous article to build our new app. We need the following Unity objects: 3 AudioSources, a Camera, a Plane, and a WebCamTexture.
Texture Analysis with Unity3D 📈
We are going to analyze which is the dominant color channel (red, green, or blue) of the video stream from our device. To achieve it, we will iterate each pixel of the whole WebCamTexture and calculate the average of each color channel. So we have:
The AudioSources 🔈
Now we need a loopable song with 3 distinct tracks, each track will represent a color channel of the WebCamTexture. I first looked on Freesound, but unfortunately, I was not able to find something relevant.
Then, I discovered Soundtrap, and I made a great hip-hop beat with it (Please don’t laugh, I felt I was Dr. Dre for a couple of minutes). I used 3 tracks: drums, piano, and flute from the extensive Soundtrap’s sounds library.
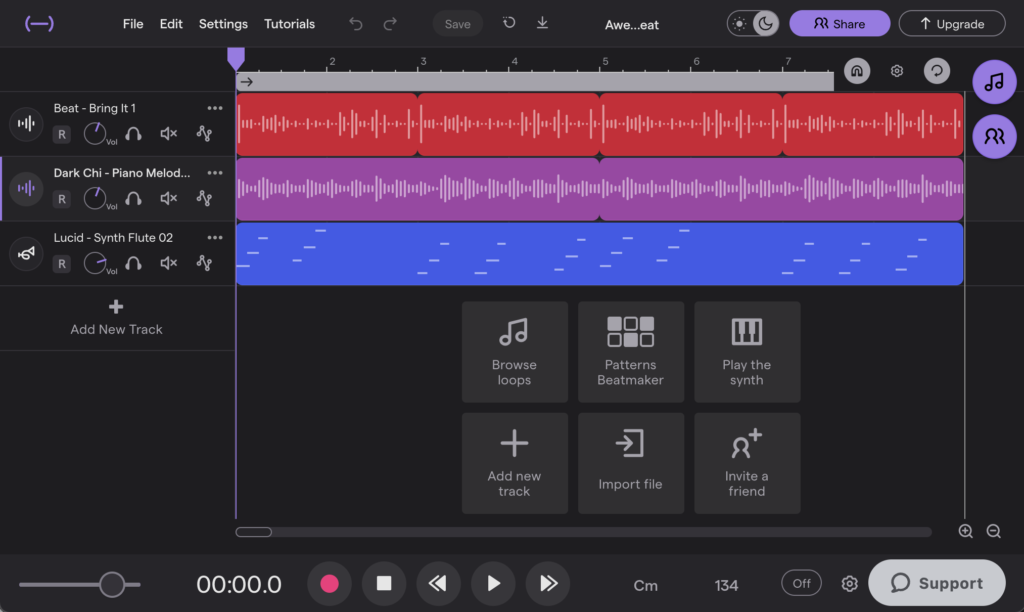
We will now create 3 AudioSources, one per track. Our hip-hop song is loopable and will play automatically when the app starts, so we check the “Loop” and “Play On Awake” options for each track.
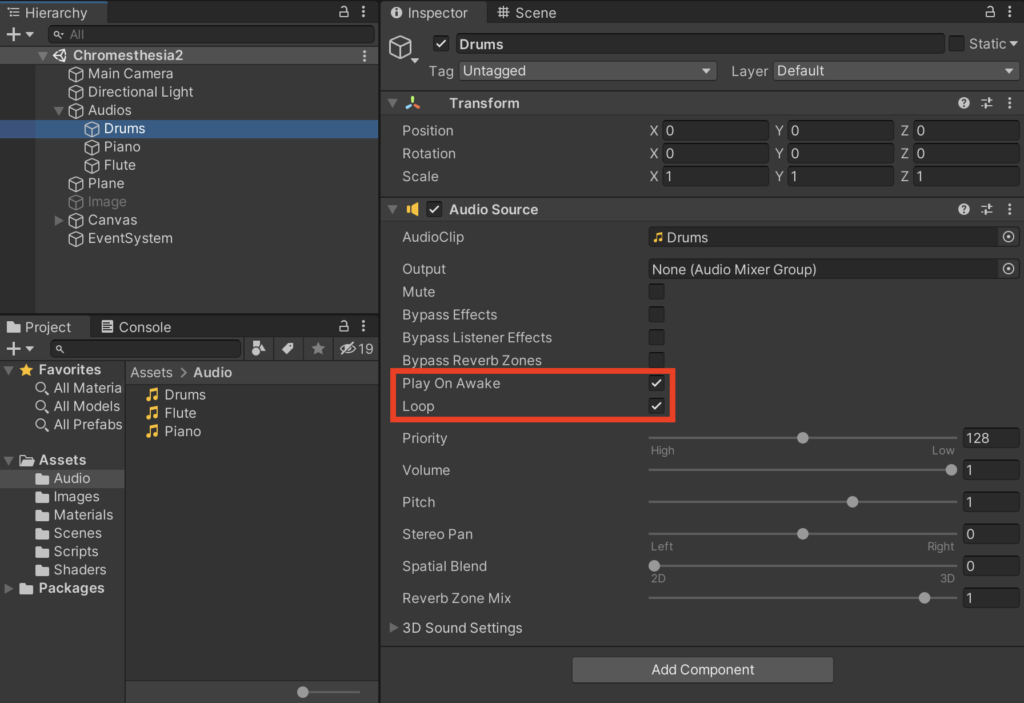
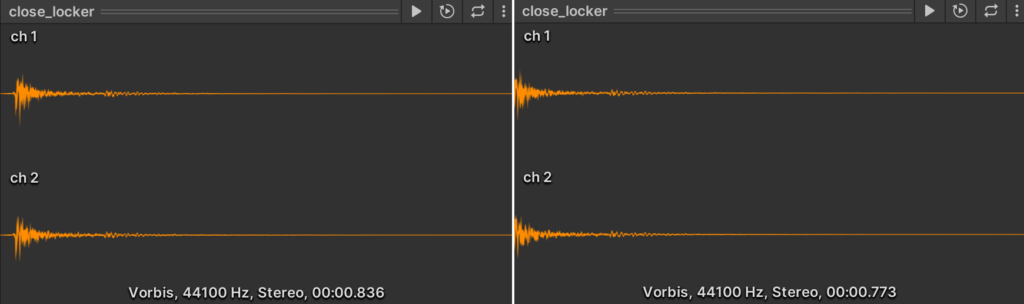
Note: Unity uses to manage .mp3 format adding milliseconds of silence at the beginning of the file, and making it “unloopable”. To avoid this issue, we will use .ogg files.
Here is an example of the same song in two different formats, .mp3 and .ogg. Seconds of silence at the beginning of the .mp3 file can be observed:
Great! We can now update each track with the value of its respective color channel:
The User Interface 👤
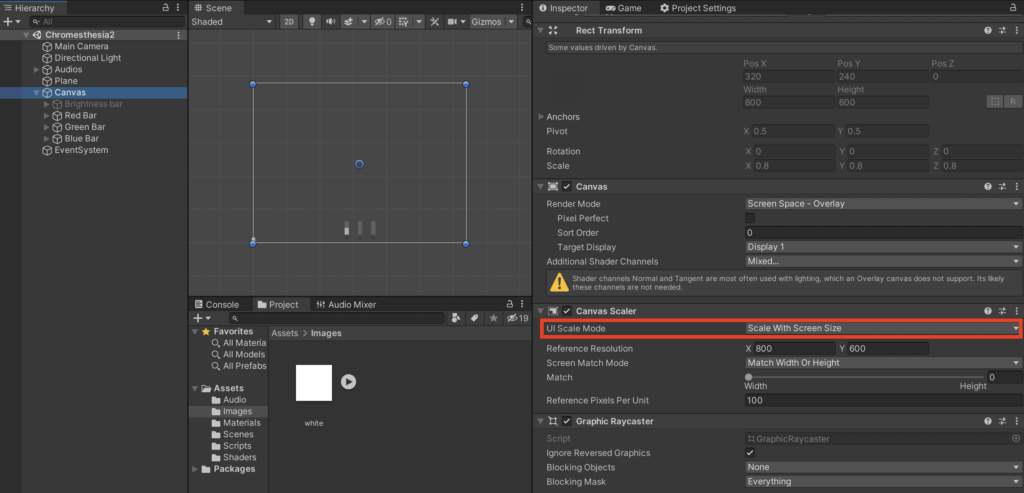
First, we create a Canvas component. Don’t forget to select “Scale With Screen Size”, this will allow Canvas components to have a constant size.
Then, we create 3 fancy bars as Images with a semi-transparent background. The bar filler is another Image with the type “Filled”.
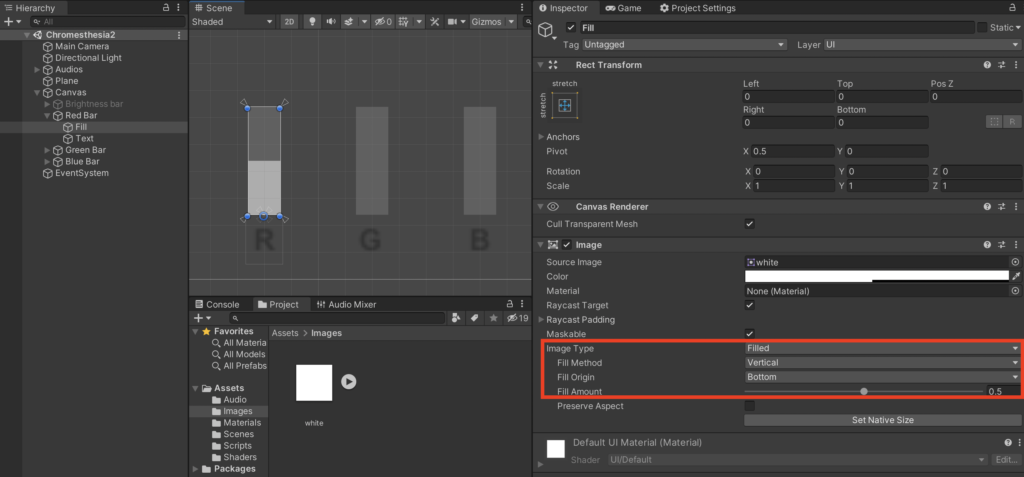
It looks good! We will now update each bar with the value of its respective color channel using the Fill Amount parameter:
Final result
After building the application on an old LG phone, here is the final result on video:
Off-topic: about my oldie phone
Maybe you wonder: “why this guy is working with an old LG phone? There are plenty of much better Android phones!”. Oh yes, there are. This is the worst phone I have ever had: it is slow (even after resetting, Android is not running correctly), it has a poor screen resolution and audio quality, user experience is awful (for an unknown reason volume buttons are on the back and make it very uncomfortable using it), and the finishing is, well, very basic (rough plastic).
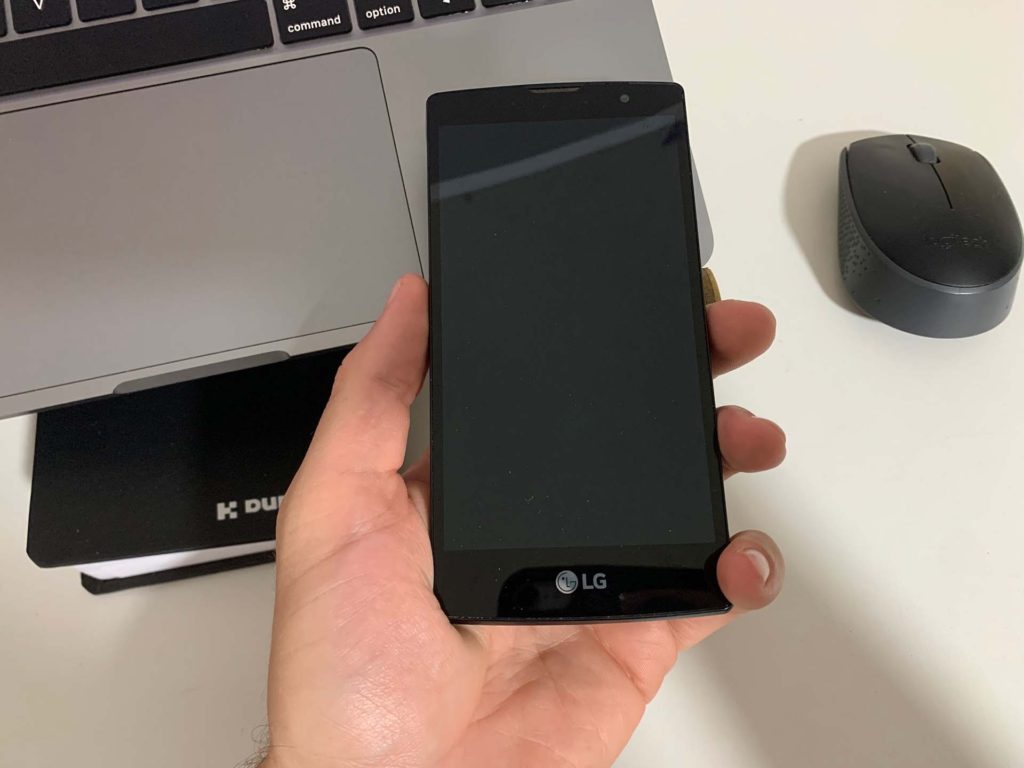
The answer is simple: if the Unity applications that I create for my articles are running decently on the LG Magna, it will run perfectly on any modern Android phone.
Closing thoughts
This article showed you how to make a very simple Unity app involving 3D objects and a device camera. We also had the opportunity to learn about the R, G, B color channels and Texture analysis in general.
Every code of this article has been tested using Unity 2020.3.17 and Visual Studio Community 2019. The mobile device I used to run the Unity app is an LG Magna with Android Lollipop.
You can download the full Chromesthesia2 Unity Package specially designed for this article.
A special thanks to Gianca Chavest for designing the awesome illustration.